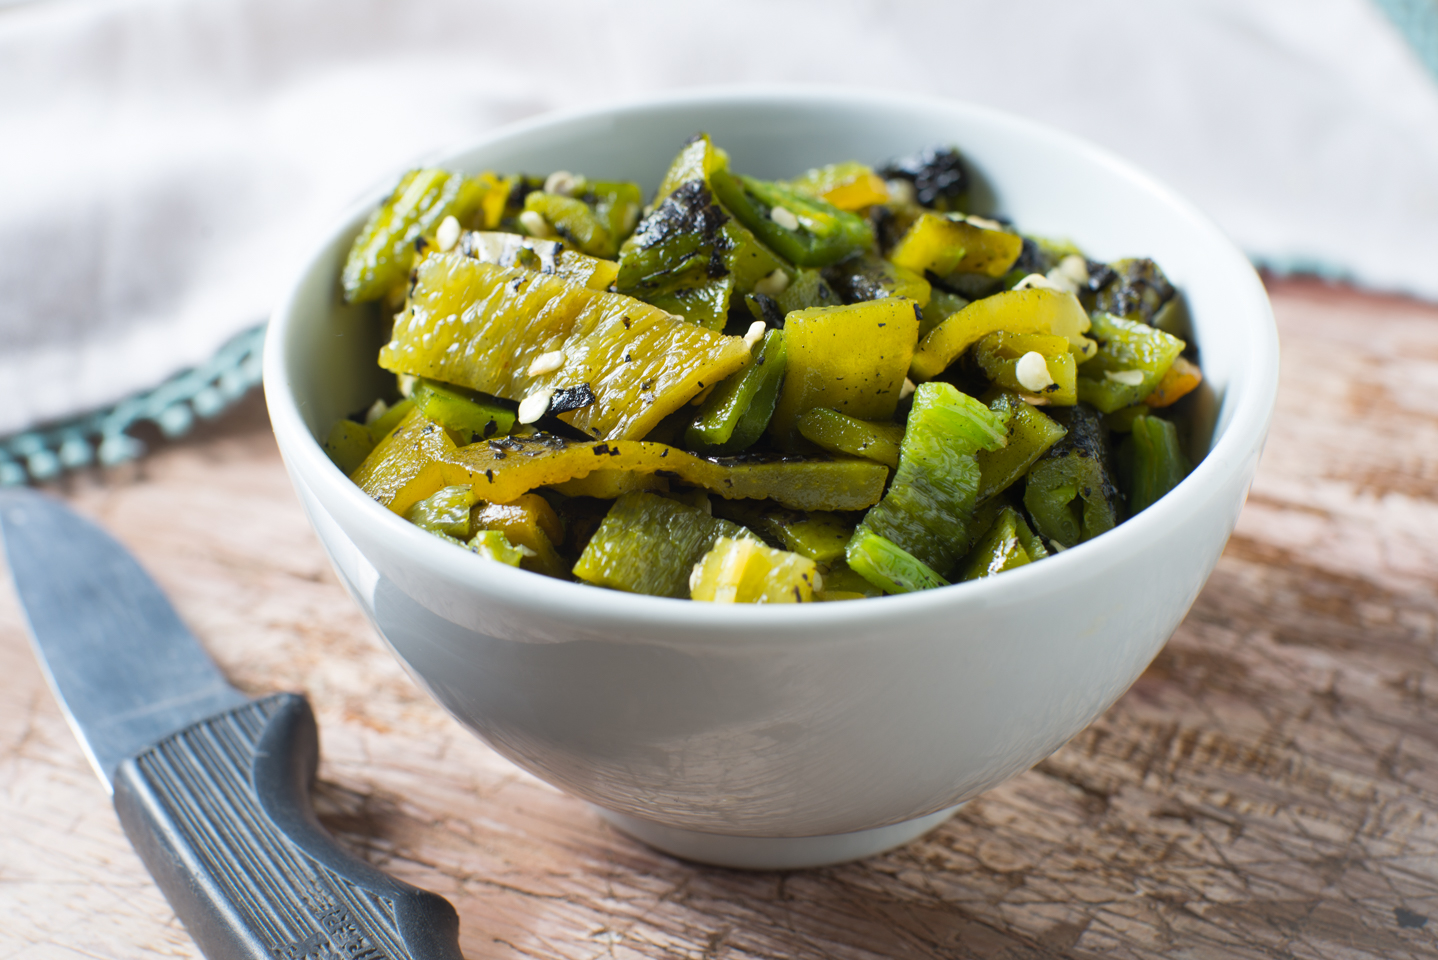
It's chili time!
If you are driving around Denver this month you will be seeing a lot of roadside stands selling chili from Hatch, New Mexico. If you're not stopping you're missing out on a wonderful Fall tradition that we have become to not only enjoy but eagerly await for all summer.
I remember it taking me a while to figure out what the big deal was when I first moved here. Luckily I found out soon enough. The Farmers in New Mexico drive these wonderful chili up every year and roast them right there on the side of the road. They are sold by the bushel or half bushel in lots of different varieties from mild to 'Dynomite', the latter I have yet to try. I usually go for a medium which sometimes is more like hot.
The process is simple. You pick your Chili which are fresh and they toss them into a big drum which char roasts them in about 10 minutes. They go in green and come out black and charred. We're not talking fancy equipment. They then go into a plastic bag lined laundry bin and are tied shut. That's it. Now what?
Well once they are roasted that is where the fun begins. You will start to notice the wonderful smell within 5 minutes of your drive home. Enjoy it. In fact you WILL enjoy it for a few days most likely.
Leave the chili in the plastic bag for at least an hour. The heat of the roasted chili will steam them and make the peeling process so much easier. If you wear contact lenses PLEASE wear gloves for the rest of the processing. Trust me on this one.
After the chili have steamed for about an hour you can begin to prepare them. A half bushel gave me enough to get a pot of green chili on the stove and freeze the rest to use later. With a knife simply scrape as much of the skin off as possible. Slice open and remove the seeds. I am not obsessive here... my chili always has seeds and pieces of charred skin in them, it adds to the flavor. I prefer to chop them then freeze about 1 cup portions. A little goes a long way and by freezing smaller portions this prevents you from defrosting and wasting any unused portions because you don't want to refreeze after they have already defrosted. My frozen portions usually last a year and I use my last bag just in time to get a new batch the following Fall.
A great way to use Hatch chili is to make a Colorado Chili Sauce. This is not the Chili with beans that you may initially be thinking of, but rather a sauce which is great to smother on top of a burrito or as a condiment in tons of dishes. It freezes well so I love to make a big batch and then freeze to use throughout Winter. Think Huevos Rancheros on a cold Winter morning!
To make the sauce:
2 cups chopped roasted green chili
3 Cups Vegetable Broth
Salt and Pepper to taste
1 Medium onion diced
3 cloves garlic, minced
4 TBSP flour
1 TBSP Oregano
1 TSP chili powder
1 TBSP ground cumin
1/2 tsp liquid smoke
In a pot, saute the onions until translucent. Add the garlic and saute another 2 minutes. Add the flour and mix well sauteing another 2-3 minutes. Slowly whisk in the broth. Sauce will be slightly thick. Add remaining ingredients and bring to a boil.
Lower heat and simmer for 2 hours. Transfer half of the sauce to a blender an puree, returning to the pot. Add 2 TBSP cornstarch mixed with water if sauce is still too thin.


